There are a great many flapping birds in origami, designed by folder worldwide.
Let us learn how to do a flapping bird together.
Use a square of crisp paper.
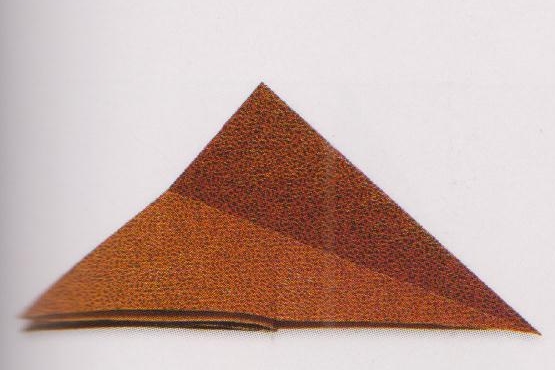
1: Begin with a Waterbomb base. The final model has a fairly equal color ratio, so it never seems to matter which side of the paper face you to begin with.
2: There are two sharp points on each side of the Waterbomb base. Fold the top point only on the right-hand side across to the left.
3: Fold the lower horizontal edge up to lie on the upper-right sloping edge. Make a really firm crease.
4.:Unfold step 3.
5: Folding the single layer only, take hold of the uppermost point at the left, and make a repeat fold of step 3, using the same crease. As the flap comes to rest, you have to make a swivel-squash adjustment with excess paper between layers, so that the model will lie flat once more.
6: step 5 completed.
7: Turn the model over, and arrange it so that the crease made in step 3 rises from left to right.
8: Repeat step 5 on this side, folding the single point at the right up to lie on the upper left sloping edge, matching the two wings together, and making a similar swivel-squash adjustment to that in step 5.
9: Step 8 completed.
10: Make a valley fold in the left-hand point, so that the crease runs in line with the lower edge of the right-hand point.
11: Change the angle of the left-hand point, by making another valley fold at the tip. These last two steps form the neck and head respectively.
12: Open out steps 10-11.
13:Turn the model over, so that you are now looking at the underside of the bird. Open out the pocket between the folded-edged layers of each of the sharp points, and hold with the point that has the creases made in steps 10-11 facing away from you.
14: Using the larger V shape of existing creases, outside reverse fold the neck into position. The point will be turned outside on itself.
15: Using the V shape of existing creases at the tip of the neck point, make a further outside reverse fold to form the head.
16: Flatten the model.
17: The completed Flapping Bird.
Hold the chest of the bird with one hand, and the tail with the other.
Pull the tail gently allowing the model to open slightly and collapse again, for a wonderful flapping action.


No comments:
Post a Comment