
The traditional model was originally a napkin fold, but has been adapted here to be made from conventional paper. The lock at the end ensures that the necessary layers of paper say together. You will need a square of fairly crisp paper, not too thick, and preferably with a different color on the reverse side. Fancy Christmas gift wrap works exceedingly well.

Step 1: With the color you wish to be predominant in the design on top, fold up a narrow strip at the lower edge. A strip 1-2cm / 0.5-0.75in works fine with a square cut from A4 paper (21 x 29cm / 8.25 x 11.5 in).

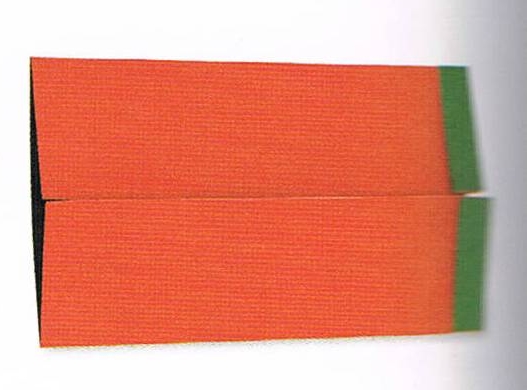
Step 2: Turn the paper over, then fold in half to establish the vertical center crease. The strip folded in step 1 should be horizontal along the lower edge at this stage, even though it is hidden in the photograph.
Step 3: Rotate the paper 90` anticlockwise and fold the top and bottom sides to lie along the center crease.

Step 4: Fold the left-hand corners inward to meet the center crease.

Step 5: Fold the left-hand corner across to meet the inner edges of the flaps folded in step 4.

Step 6: Fold this newly created edge across to the right-hand edge.

Step 7: Fold the upper layer back across to the left, making a vertical pleat in the paper. The outer corners of this section should come to rest on top of the right-angled corners beneath.

Step 8: Turn the model round so that the narrow strip lies at the top. Valley fold the model in half along the vertical center crease, so that all the folds are inside. Hold as shown, with the finger and thumb of one hand close to the trim at the top, while the finger and thumb of the other grip the "toe".

Step 9: Swing the toe forward and outward, so that the pleat folded in steps 6-7 allowed to stretch. New creases will form, and the toe will move position.. Flatten the model.

Step 10: To lock the, open out the two rear edges and lock inside the Stocking. On one side only, carefully lift up the border folded in step 1, creating a pocket. Now refold the Stocking, this time tucking the upper corner of the remaining half into this pocket.

Step 11: Flatten the model to complete.

The Christmas stocking completed.
No comments:
Post a Comment